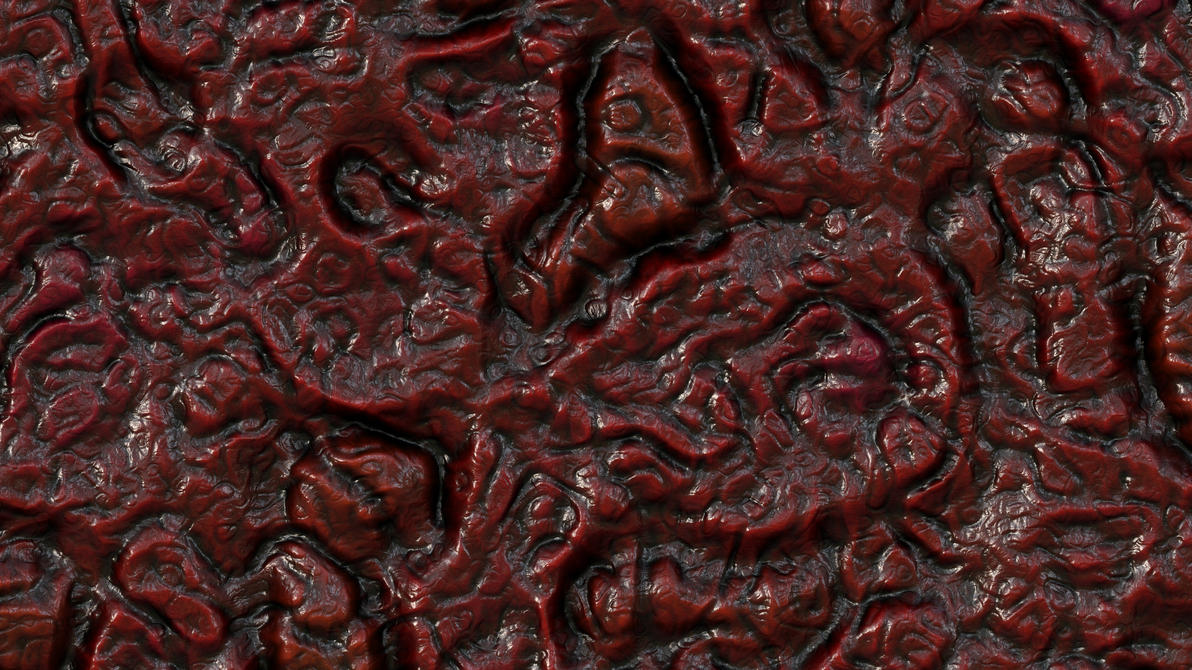
I was going to post a tutorial on painting bump maps, but it appears maratis only supports normal maps.
Instead what you can do, is if you use gimp install the gimp-normalmap plugin found here https://code.google.com/p/gimp-normalmap/ and the Insanebump plugin found here http://registry.gimp.org/node/28117

The Insanebump script allows you to generate.
1. Normal maps
2. Specular maps
3. Diffuse maps
4. Ambiend occlusion (AO) maps
5. Displacement (or height) maps
In Low, Medium and High Detail

It does the same-thing as Pixplant2 or Crazybump but is free.
Once you finish painting your model, just run the texture thru the Insanebump plugin and apply the Normal and Specular map in Blender.
![]()


